How to make 360° photos for virtual tours?
Capturing 360° images can be done in different ways, from a hand-held smartphone to a tripod-mounted professional 360° camera.
This guide will help you decide what gear to use in your particular situation, point you in the right direction when it comes to using a “humble” smartphone and explain the importance of a few simple non-technical tricks to help you capture better images for your real estate virtual tour.
Smartphones vs. 360° cameras - Which should I use?
First of all, let’s be honest… no doubt, dedicated 360° cameras outperform smartphones in terms of capture quality. Does that mean you have to buy one? Not necessarily… let’s look at what each can and can’t do, the associated costs, ease of use and help you decide if you’re ready to make an investment or make do with the tools already at hand.
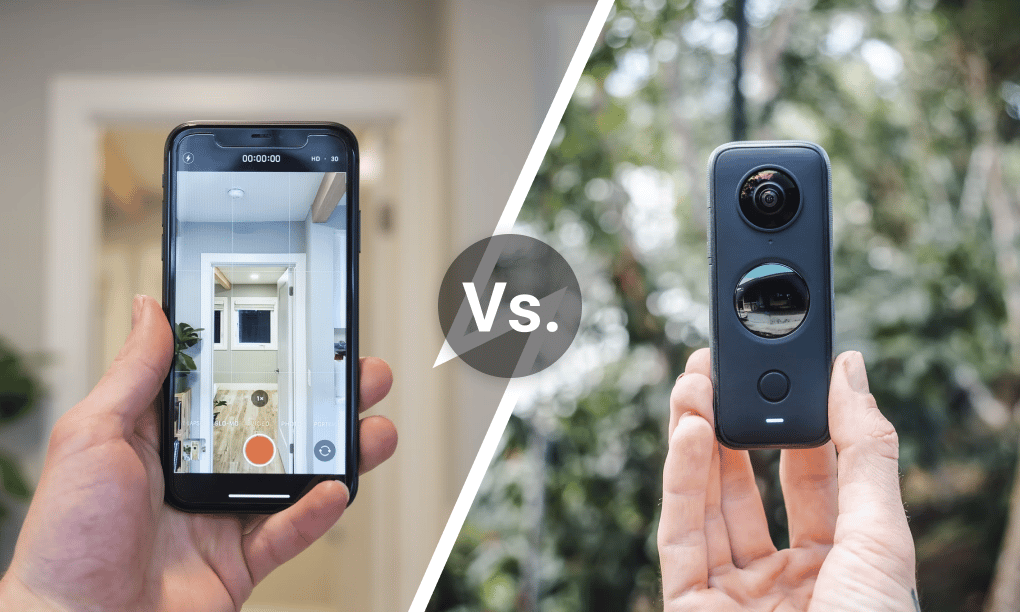
Image quality
The output image quality is roughly comparable between smartphones and dedicated 360° cameras when it comes to pixel count, sharpness or colour rendering, but ultimately depends on each specific model’s specs.
What makes the biggest difference, though, is the unwanted “stitching” defects you may run into when you use your phone’s camera. Unlike a dedicated 360° camera, which captures the entire space at once and always produces a perfectly seamless image, you will be forced to take multiple images with a phone. This is done by rotating your phone and depending on the application used, it will either indicate “stop points” you will point to for image capture, or do it for you automatically as you go. These images are then automatically “stitched” into a 360° photo sphere, using powerful algorithms.
Sometimes the algorithm fails to match the photos perfectly, creating strange lines or ghost artefacts in the scene. This effect tends to be more pronounced when capturing smaller spaces and in case of poor lighting conditions. That being said, the algorithms are constantly improving and in most cases, the effect is negligible.
Ease of use
In general, once everything is set up, it is faster and simpler to capture your space with a dedicated 360° camera. However, you will need a tripod and a remote trigger / timer to be set (part of the camera’s partner app) if you want to avoid being part of the scene, as the entire field of view is shot in one go. With a little extra investment and planning, it may be worth it, especially if you’ll be making virtual tours regularly.
The upside of using your phone is that you always have it with you and there is no need to carry the extra weight of a tripod. Just point and shoot, it’s that simple. However, the process of capturing the entire scene takes a bit longer and there is a risk of having to re-start it entirely if something goes wrong. Still, for agents who prepare 1-2 listings per month, it may be the more convenient option.
Cost
Gear costs can vary widely, but as a ballpark figure, you can expect to pay $200 - $400 for a 360° camera + another $50 - $150 for a tripod.
In contrast, there is no extra cost associated with using your existing phone. Just follow our guide and start creating virtual tours today, completely free.
Which should I use?
If flawless image quality is of utmost importance to you or if you expect to be creating a large number of tours for spacious properties regularly, then a dedicated 360° camera is likely a good investment to make.
If what you need is a convenient and cost-effective solution to quickly produce an occasional virtual tour for a small to mid-size property or if you just want to give virtual tours a try, you can get surprisingly good results with just your phone and RealAdvisor VR.
Android vs. iOS - How do I capture 360° images with my phone?
Whatever your phone’s operating system, rest assured that you can capture 360° degree images with your phone - all you need is the right application.
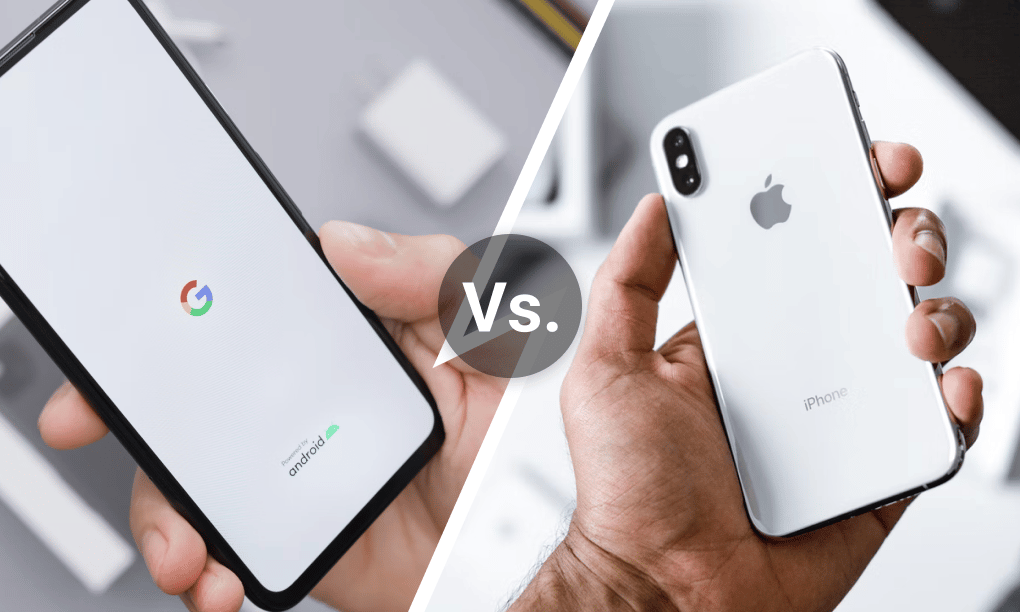
I have an Android phone (Google, Samsung, Sony, etc.)
If your phone’s operating system is Android (the case for the vast majority of phones not manufactured by Apple), you will likely be able to use the phone’s native Camera application to capture 360° images. Even if that is not the case, you can simply download the Google Street View app from Google Play and you’re good to go.
For more details on how to capture 360° images with your Android phone, follow our full guide How to capture 360° images with Android.
I have an iOS phone (iPhone)
If your phone’s operating system is iOS (you have an iPhone by Apple), you will need to download the Google Street View app from the App Store in order to capture 360° images. Currently, the native camera application on iOS devices only supports horizontal panorama images, but not a full 360° photo sphere.
For more details on how to capture 360° images with your iOS phone, follow our full guide How to capture 360° images with iOS.
Gear vs. skill - What matters more and how do I get the best results?
Quality gear can help you get great results, but even the best camera can’t make miracles when a space is poorly lit or not well staged for a shoot.
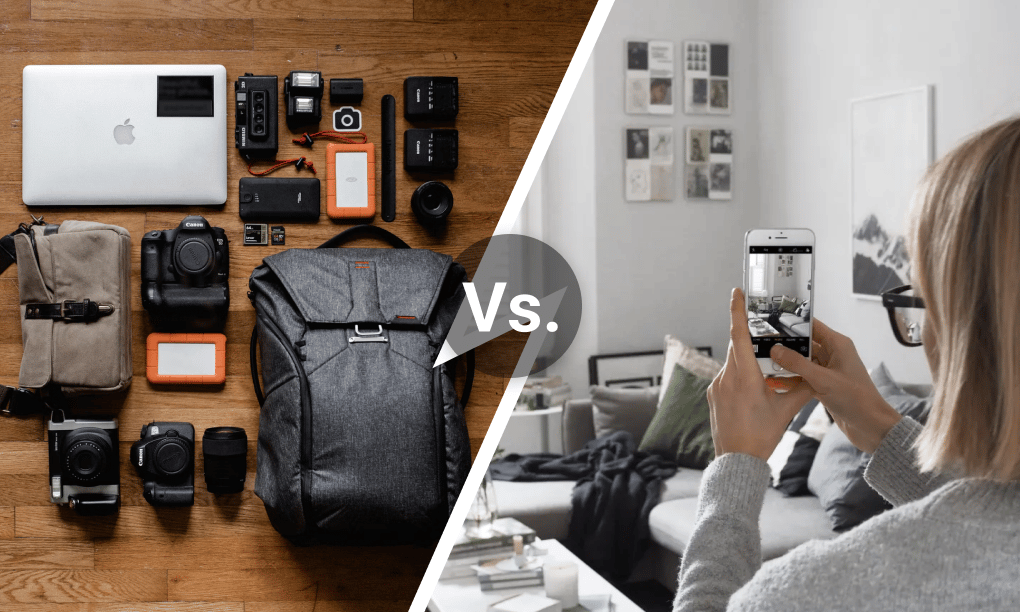
We have covered what quality gear can do for you in the previous sections of this article in terms of image quality, ease of use and how much cost it entails. Now it is time to look on the other side of the coin - simple tips and tricks that will help you get the most out of your virtual tour, no matter if it is shot with the best 360° camera out there or a humble smartphone.
For more details, check out our post Tips and tricks - maximise the quality of your 360° captures.