How to make a 3D tour of your house?
You don’t necessarily have to buy the latest, most expensive equipment on the shelves to get a great-looking virtual tour. Conversely, cutting-edge tech only goes so far, if you do not observe a few simple rules when capturing your space in 360°.
In this guide, we offer you tips and tricks that will help you maximise the quality of your virtual tour without having to spend an extra penny.
If you are still looking on how to create 3D imaged for your virtual tour, check out this 3 articles:
1. How to make a virtual tour with an Iphone/iOs?
2. How to make a virtual tour with a Android?
3. How to make 360° photos for a virtual tour?
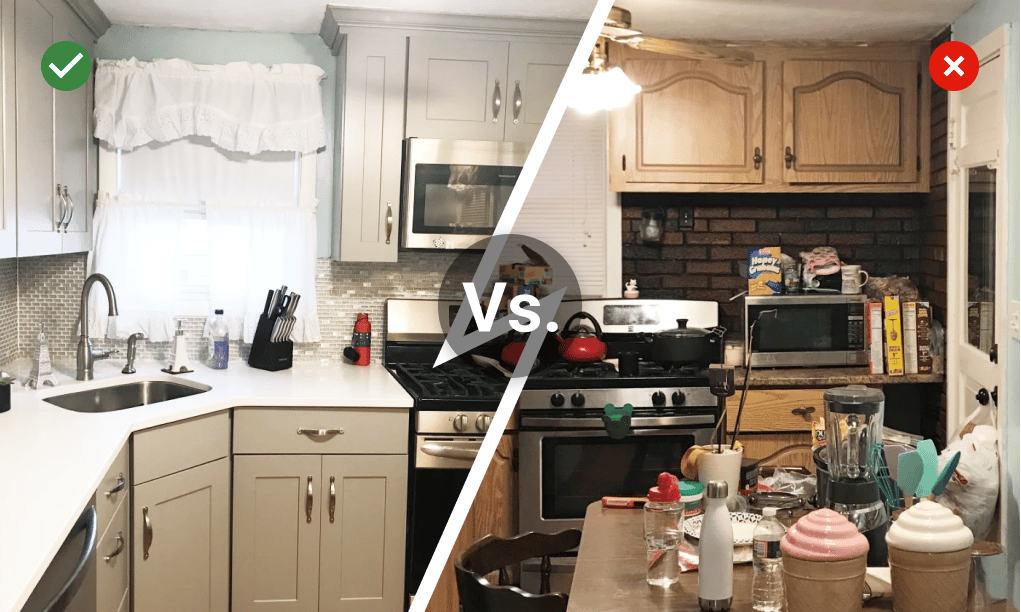
1. Prepare the property for the shoot
This may seem obvious, but it’s hard to over-stress the importance of decluttering and cleaning a space. Here’s a list of the essentials to look out for:
- If the property is currently occupied, store all personal items out of sight
- Wipe down surfaces to remove any dirt or dust
- Clean mirrors and glass surfaces
- Put toilet lids down
- Add flowers, fruit bowls or similar decoration
- Set the table as if you are expecting guests
- Hang only matching sets of towels
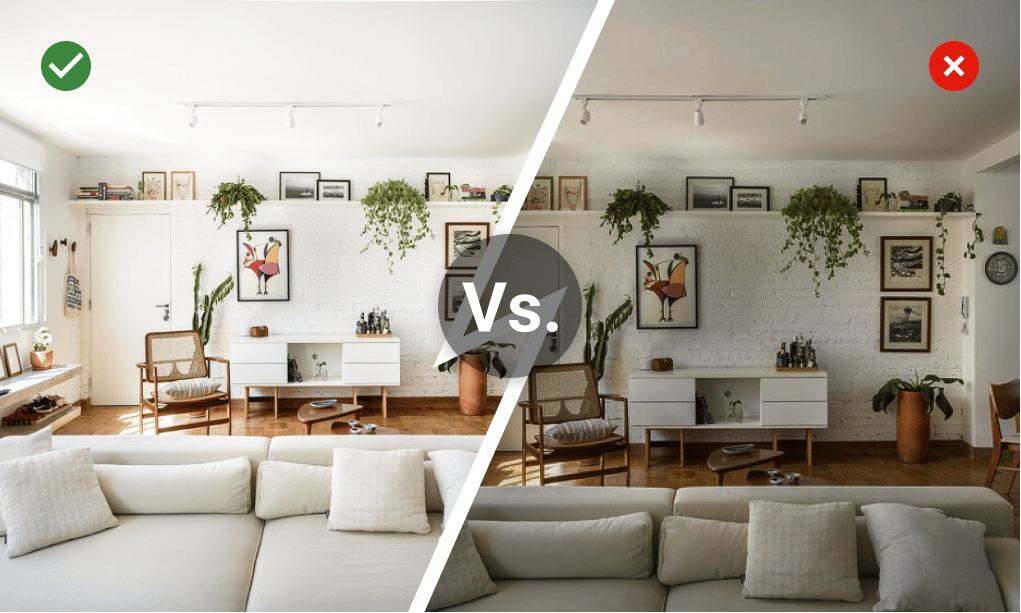
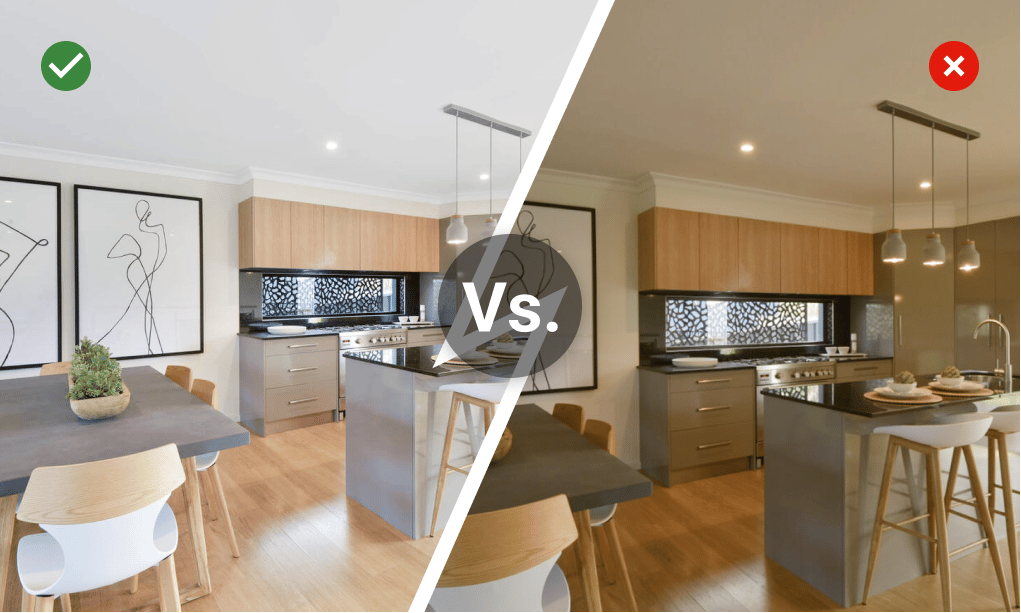
2. Make the most of available light
Plenty of light not only makes a space look more pleasant and attractive, it also helps reduce the sensitivity setting (ISO) of your camera’s sensor, resulting in less digital noise and a better quality image.
To ensure optimal lighting, observe the following:
- Shoot indoor spaces around midday, on a sunny day, to maximise natural light
- Open the blinds and curtains
- Switch on all interior lights
- If you can control the exposure, lean slightly towards over-exposing
3. Choose the optimal position
In 360° photography, we are forced to think of composition in a different way compared to conventional images. Although framing rules don’t quite apply, it is still important to pick the right place from which you capture each room, pick optimal height and keep things consistent:
- If you only capture 1 image per room, position yourself close to the center of the room (unless doing otherwise helps you highlight a specific feature, such as a view of the outdoors or open space within the interior).
- Ideally, capture multiple scenes per room in such a way, that helps your viewers get immersed into the scene and appreciate details from each position and to make scene transitions smooth and gradual, making the tour feel more like a walk-through.
- Pay attention to the height from which you capture your scene - try to position your camera close to the middle of the room. Naturally, we tend to take pictures from eye-height, but being too close to the ceiling makes the scene feel unbalanced.
- Capture each scene from the same height, to avoid transitions feeling jumpy. In this case a tripod is a big help.

4. Bonus: post-process your images
If you are a moderately advanced user or a hobby photographer, you will be no stranger to post-processing an image in order to get the most out of it. This step is not strictly necessary, but no matter how good your gear is, it will not always get every aspect of the image right.
Post-processing takes extra time, but can help greatly reduce white balance or exposure issues, reduce digital noise, make scenes more consistent, you name it. 360° images are no exception, so if you have an efficient workflow down, don’t hesitate to apply it here - it will pay dividends.
Conclusion
If you observe these simple tips and tricks, you can take your VR tours to the next level without having to spend a fortune on upgrading your gear. They apply both to smartphones and dedicated 360° cameras, so all you need to do now is get out there and create your free virtual reality tour with RealAdvisor VR.
If you are unsure how to capture a 360° image with your phone, follow our full guide How to capture 360° images with Android or How to capture 360° images with iOS depending on your device operating system.